Hi everyone!
I have a quick and easy embroidery tutorial for you!
- Stitched Blooms by Carina Envoldsen-Harris (get it here)
- Embroidery hoop
- Embroidery floss
- Fabric
- Needle
- Sharpie
- Pencil
- 743 – yellow
- 907 – green
- 970 – orange
- 3846 – blue

This is the motif we’ll be using.
I opened this photo file in Photoshop and edited out the swirls. I didn’t quite like them with the birdie. I think they’d look much cuter on their own.
 Print out the motif and trace it with your Sharpie.
Trace the motif onto your fabric.
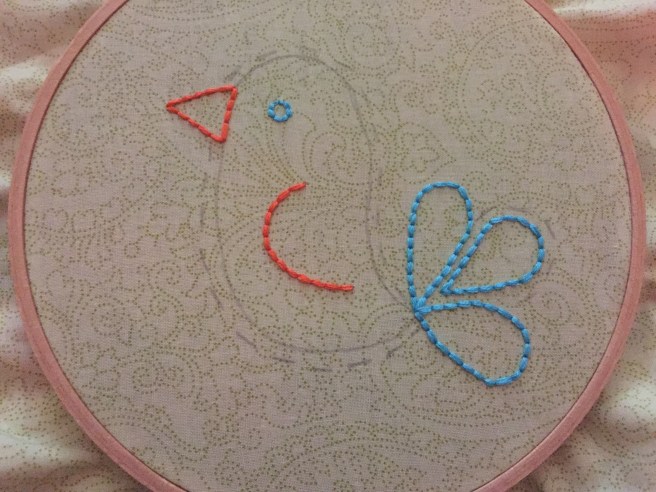
 We’re going to start with our orange thread, and Back Stitch the beak.
 Back Stitch the wing in orange as well.
 Use the blue thread to Back Stitch the eye.
 Continue by stitching the tail feathers.

 Once the tail feathers are done, we’re going to stitch the body.
 Use the yellow thread for the birdie’s body.
 Use the running stitch and the green thread to add some final touches.
 Once the green stitching is done, our cute little birdie is complete!
 I love the way this birdie turned out!
The colors are so bright and fun!
Happy Crafting!!
Are you following us on Instagram yet (pinkbowstwinkletoes)?! You should be!!


