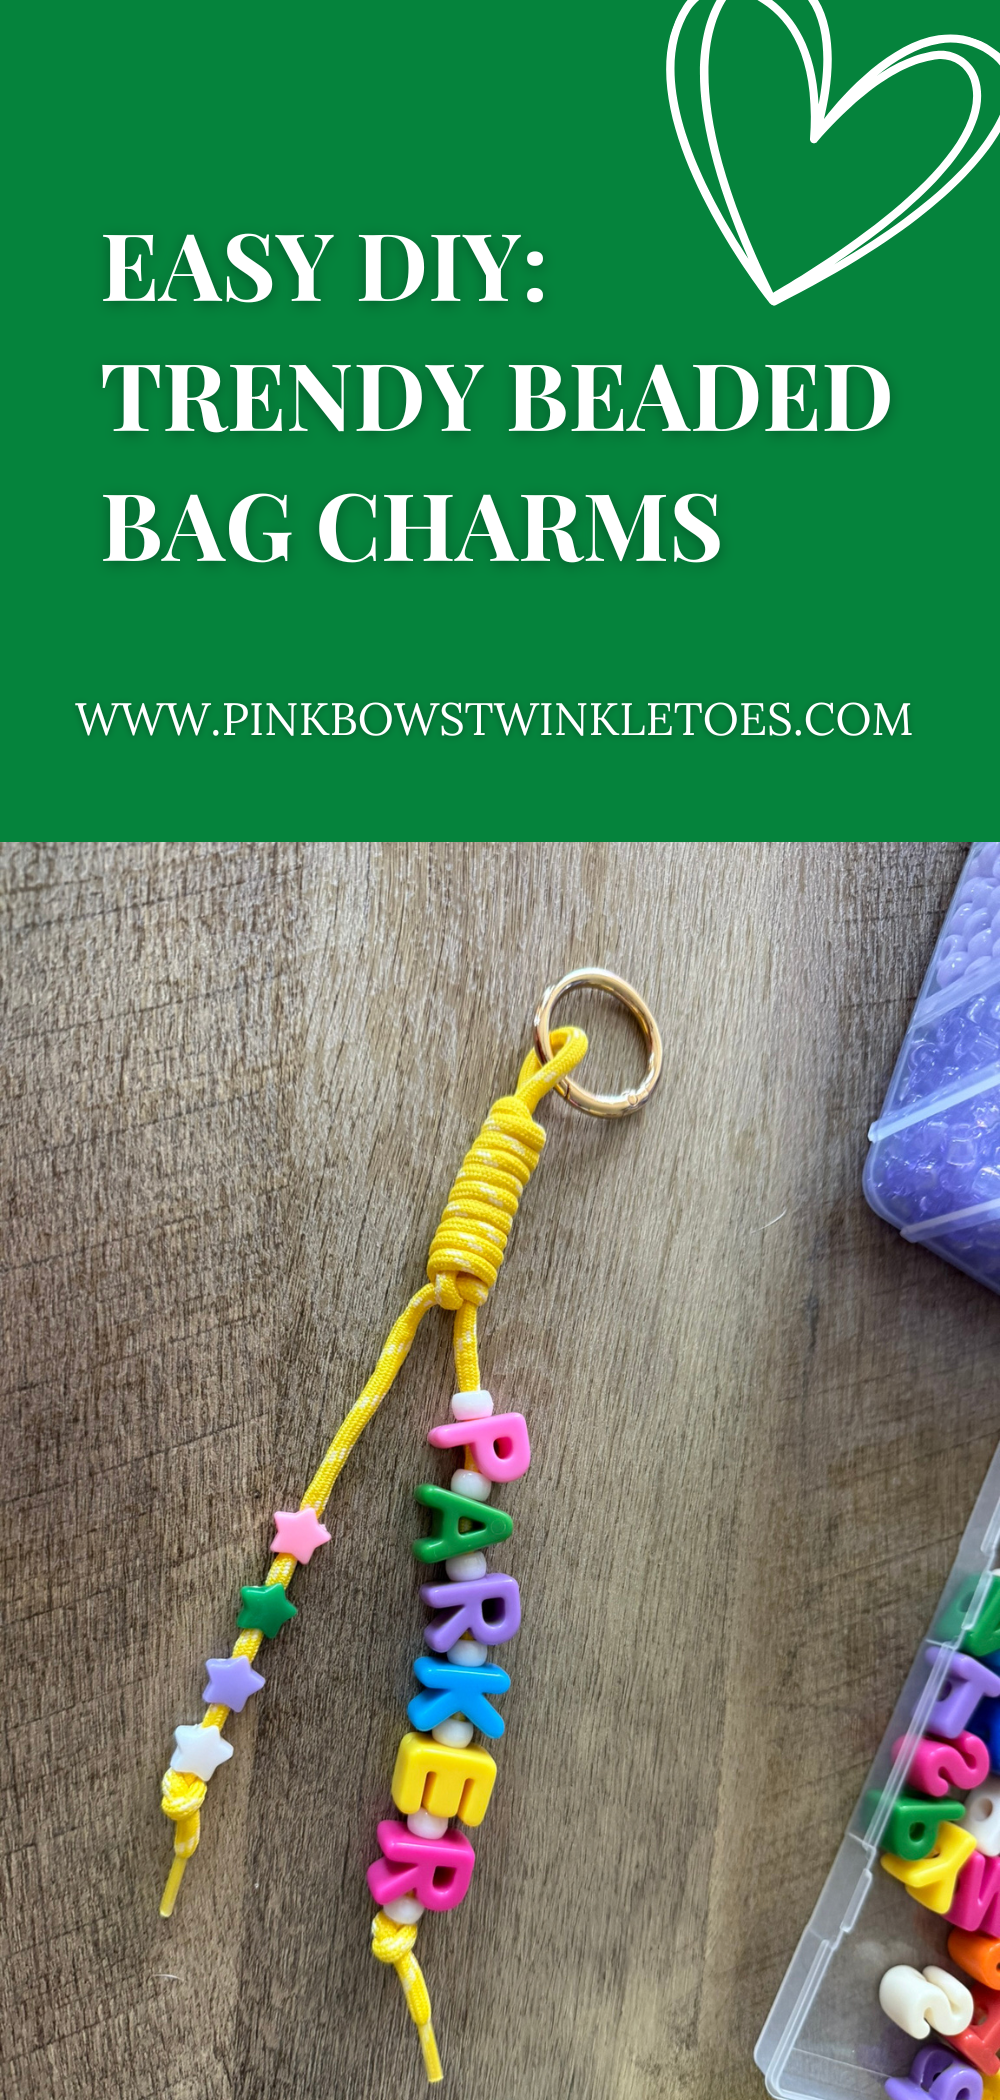
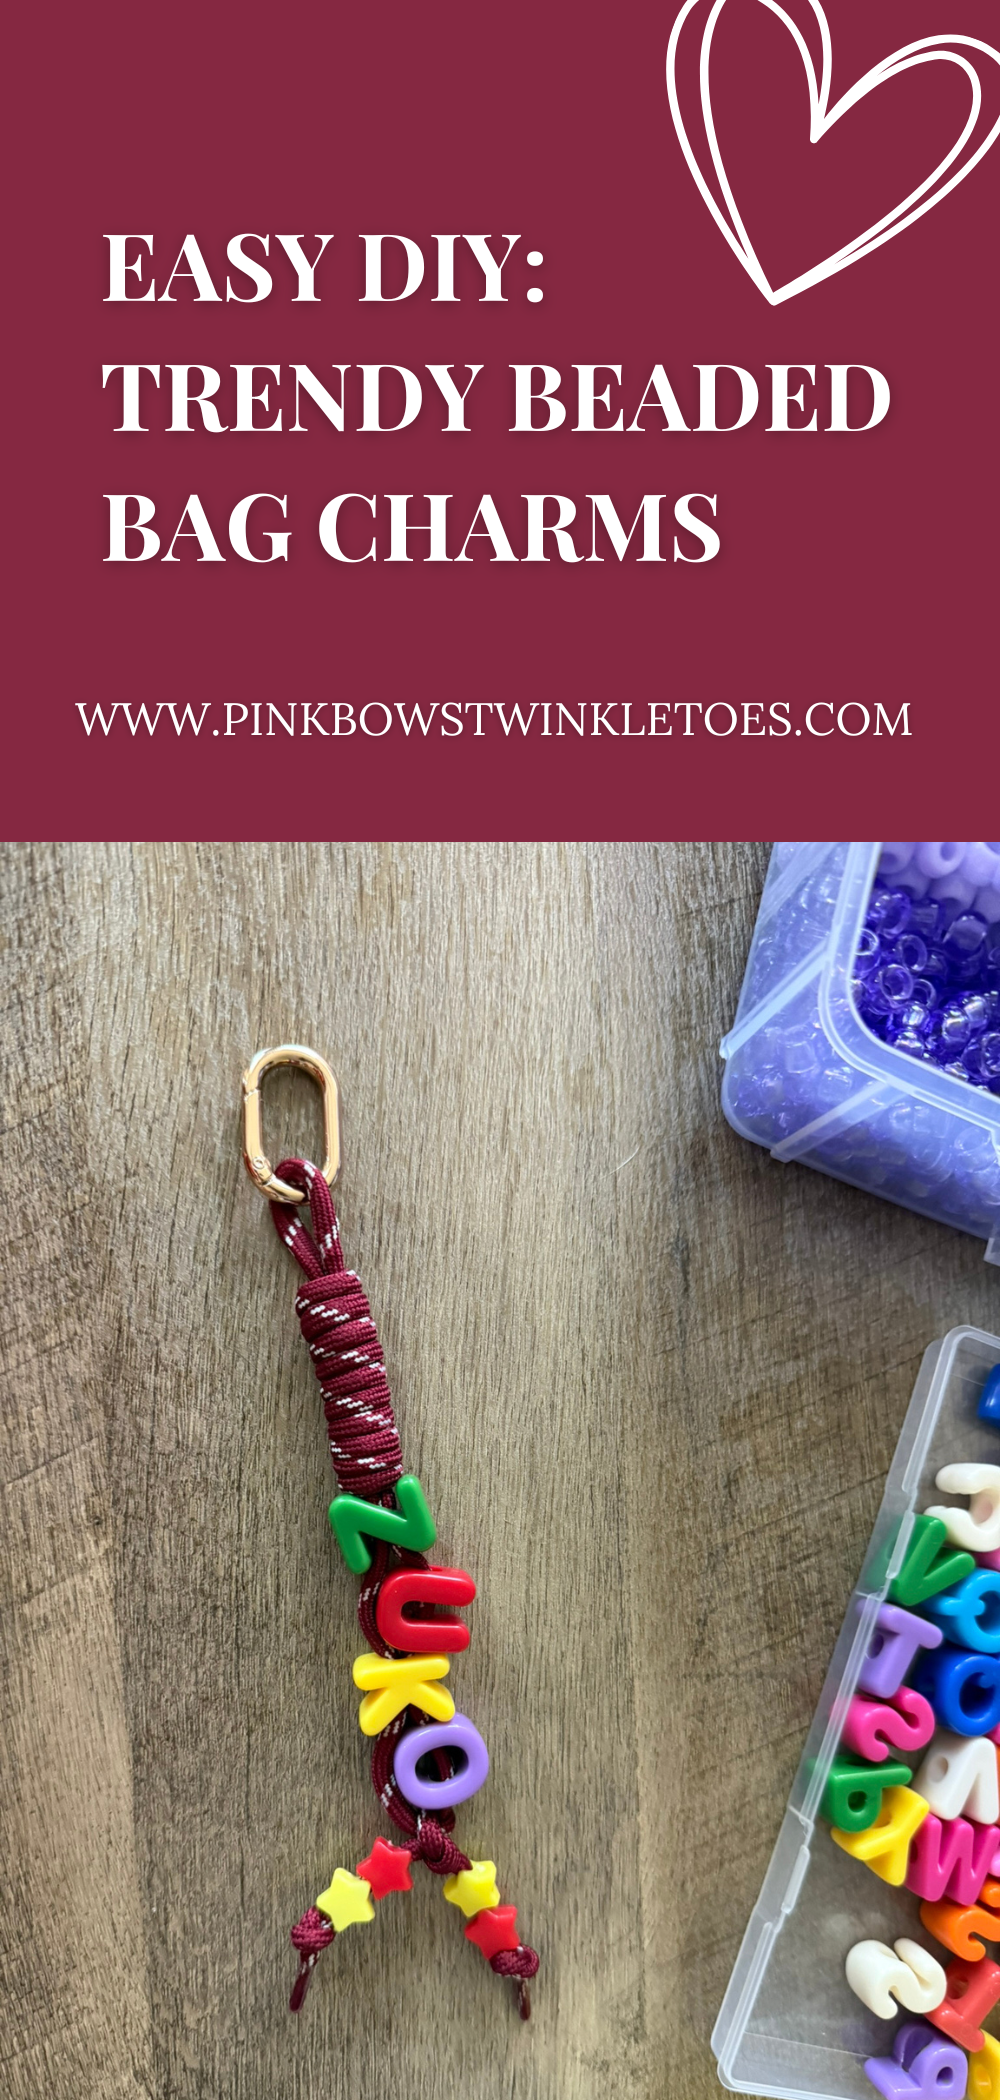
I’m not one to jump on trends, but when I started seeing bag charms everywhere, I knew they’d be something I’d get into. I mean, how could I not? Happy little clusters of beads and string hanging off my bag? Sign me up! But instead of buying bag charms, I knew I could make my own (and you can too!) Follow along below as I show you how to easily make your own trendy, chunky beaded bag charms!

Bead Strategy
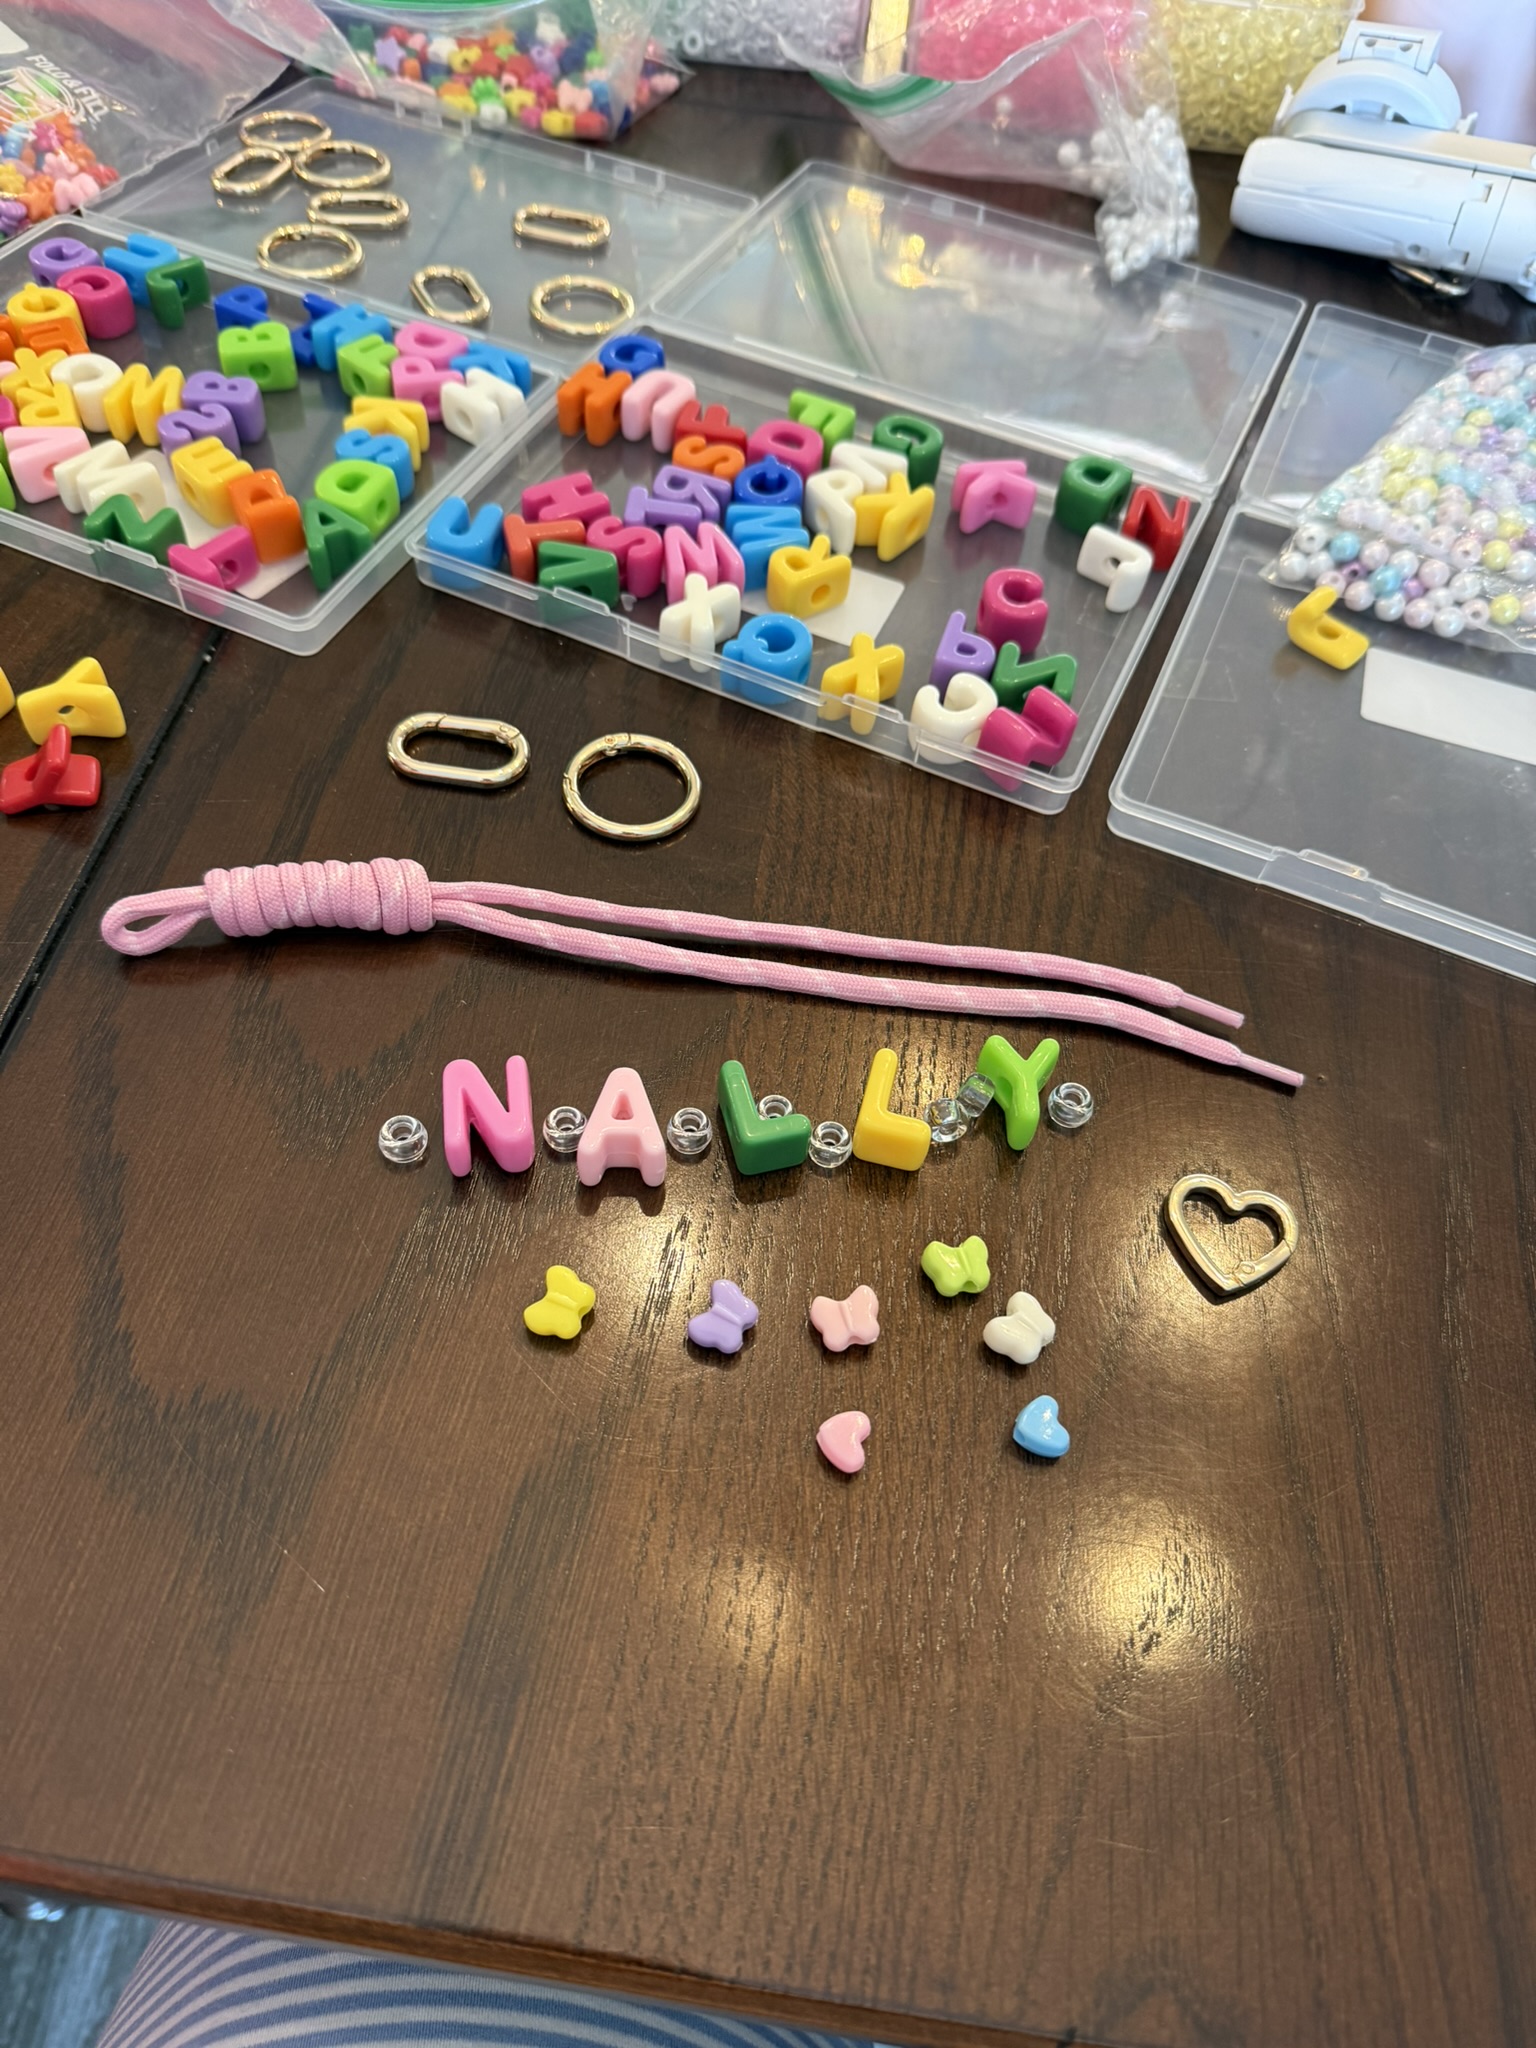
Prior to our annual family vacation a few weeks ago, I started researching materials and gathering everything we’d need to make bag charms together, along with a bunch of other bead crafts in my craft-le box!
If you or your crafty friends are planning to put your names on your charms, count out the letters you’ll need in advance. From what I gathered, most chunky alphabet bead sets come in sets of 52 (2 of each letter), so if you need a lot of L’s or B’s (which we did!), make sure you count them out ahead of time so you have enough beads for everyone.
Who Should Make a Bag Charm?
If you ask me, everyone! In our family, we had crafters ranging in age from 4 to 60+. This little DIY is perfect for all ages!
And bag charms don’t just have to go on purses. They can go on backpacks, briefcases, dog leashes (yes! we made them for our dogs), gym bags, and carry-on suitcases. The options are endless. You name it, and a bag charm would make a delightful accessory for it!
As I mentioned, we made bag charms as a family, but this project would be so fun for a book club, birthday party, girls’ night, date night, craft night, any night!

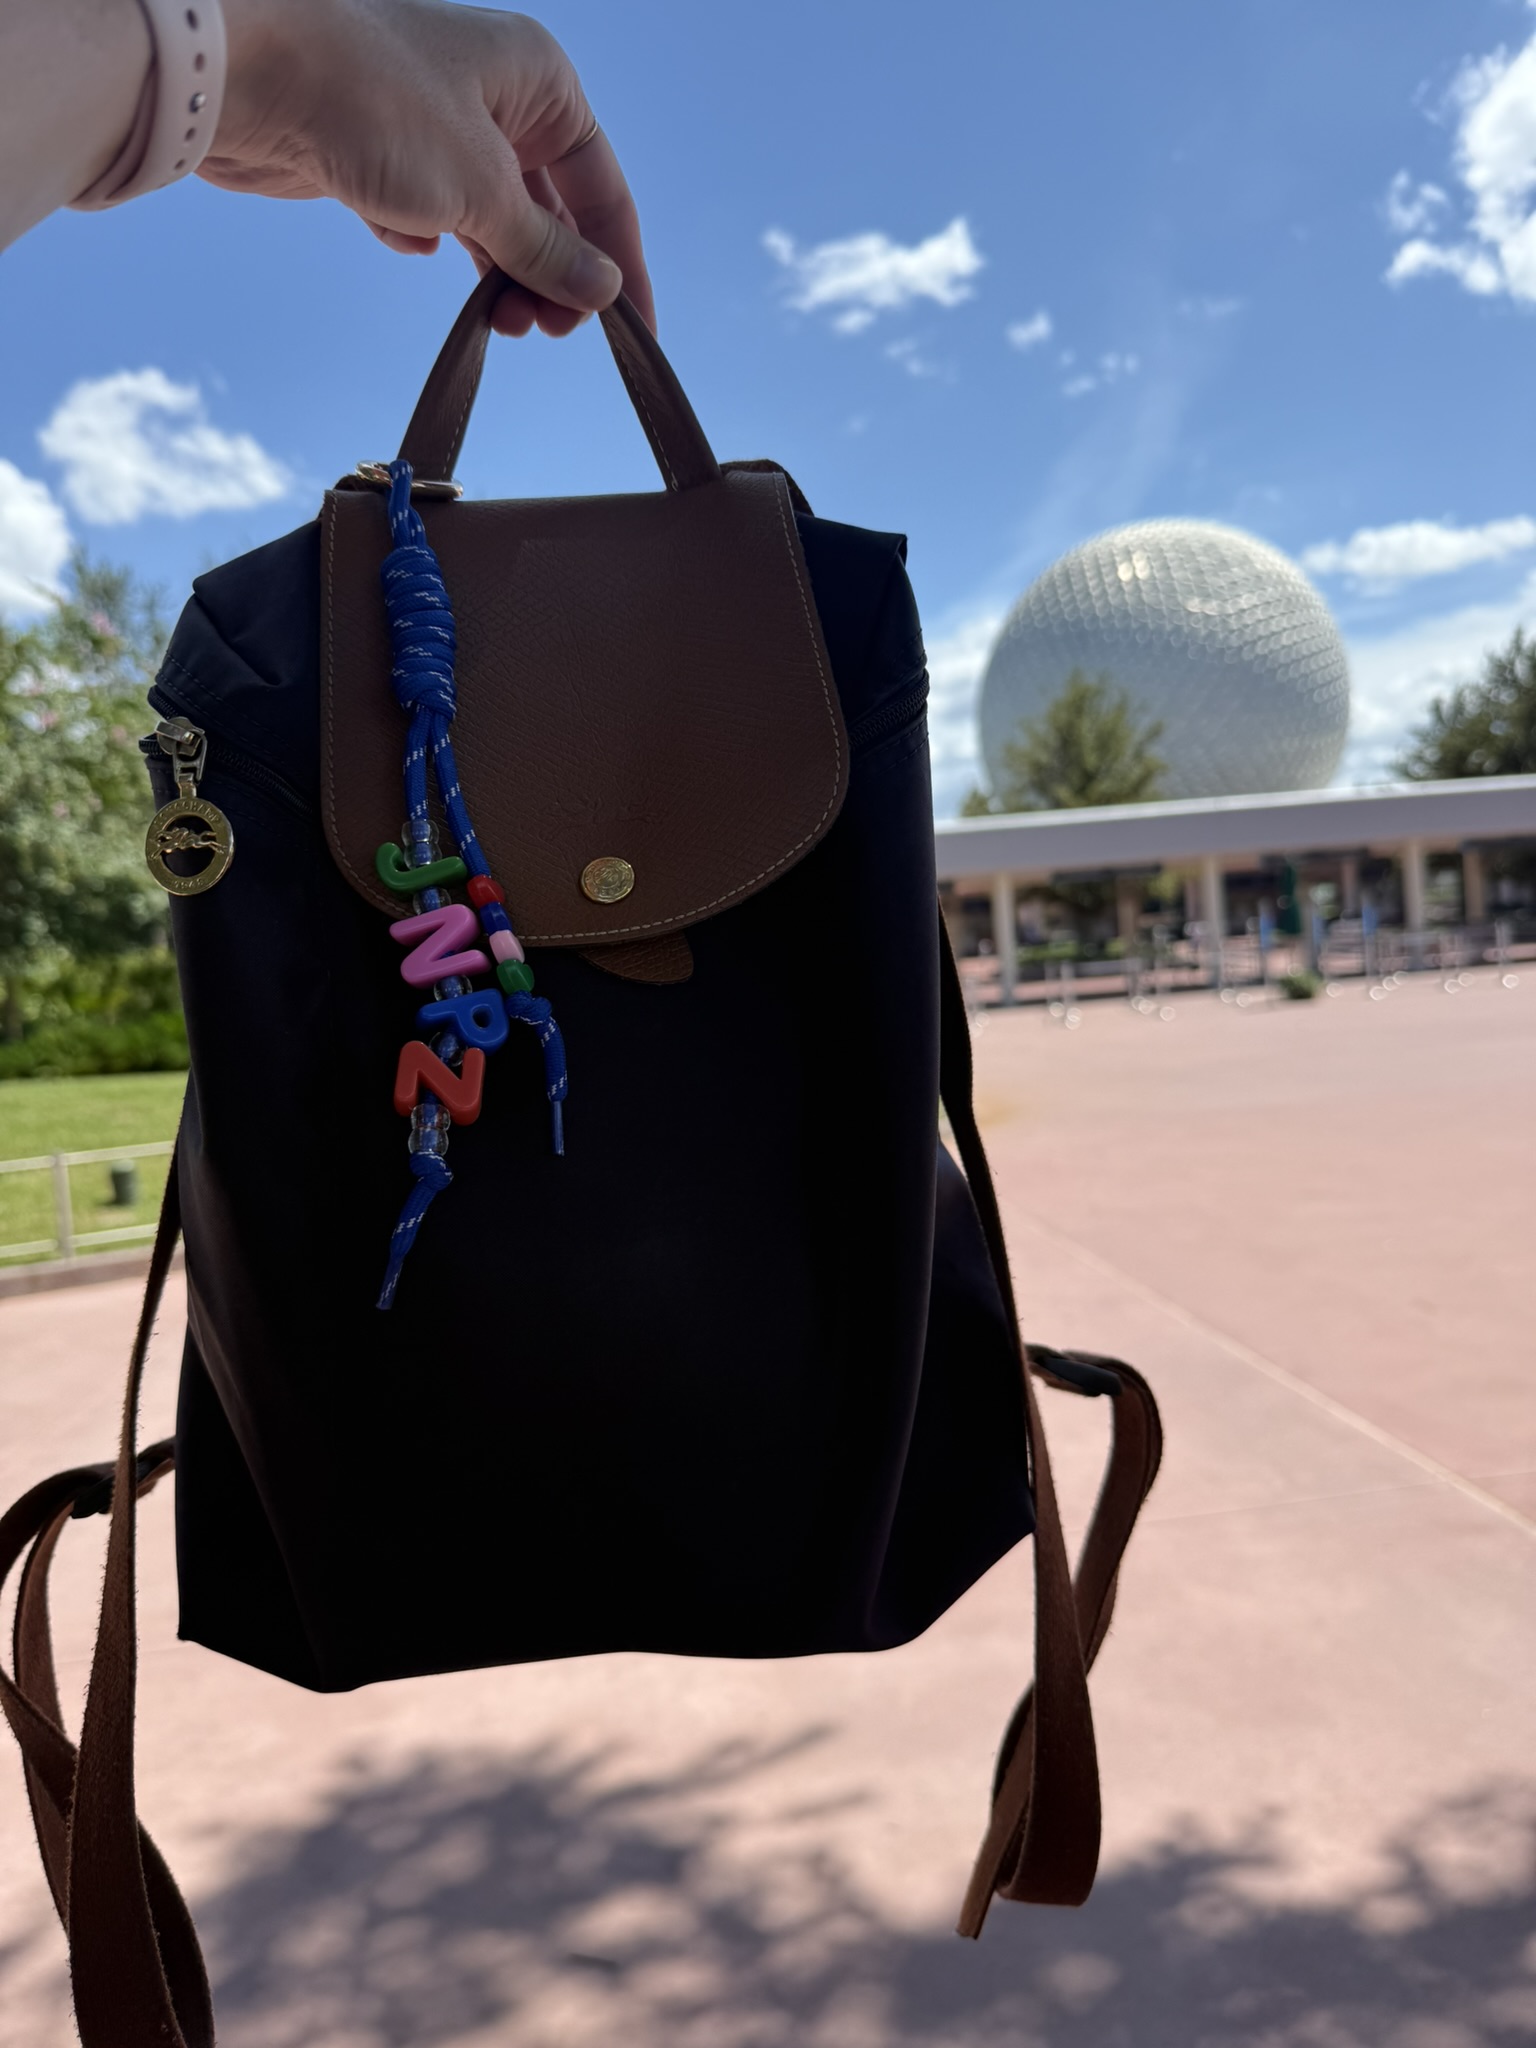
Here’s a look at all the beaded bag charms we created on our trip! Every single one has its own personality.
Use this photo as inspo as you decide how to make your charm. Do you want to string your letters on both paracord ropes at once, or would you rather keep them separate? Decisions. Decisions.
Supplies
- Chunky Alphabet Beads (bright rainbow, colorful crystal, brown + cream, or gold)
- Pony Beads (available at Michaels or on Amazon)
- Plastic Shape Beads
- Knotted Paracord Rope (multicolor, white, or pink)
- Carabiner Clips (multipack of hearts, ovals, and circles or colorful flower clips)

How to Make a Beaded Bag Charm
Start by determining what you want your charm to say. For this tutorial, I’m going to be making charms for my dogs, Parker and Zuko.
After laying out your desired letter beads, you’ll likely have a color scheme. Now, pick out coordinating pony beads and shape beads, and grab a matching paracord rope and carabiner clip.

Time to start beading! One super handy feature of these paracord ropes is the aglet (the shoelace ends). They make stringing beads SUPER easy, especially if you are stringing both cords at once (like I did with the Zuko example pictured below).

Once you’ve strung all your beads, tie a simple knot. Pull extra tight so your beads are secure. You could add a drop of glue for additional security, but I don’t think that’s necessary. I don’t foresee my knots coming untied anytime soon.
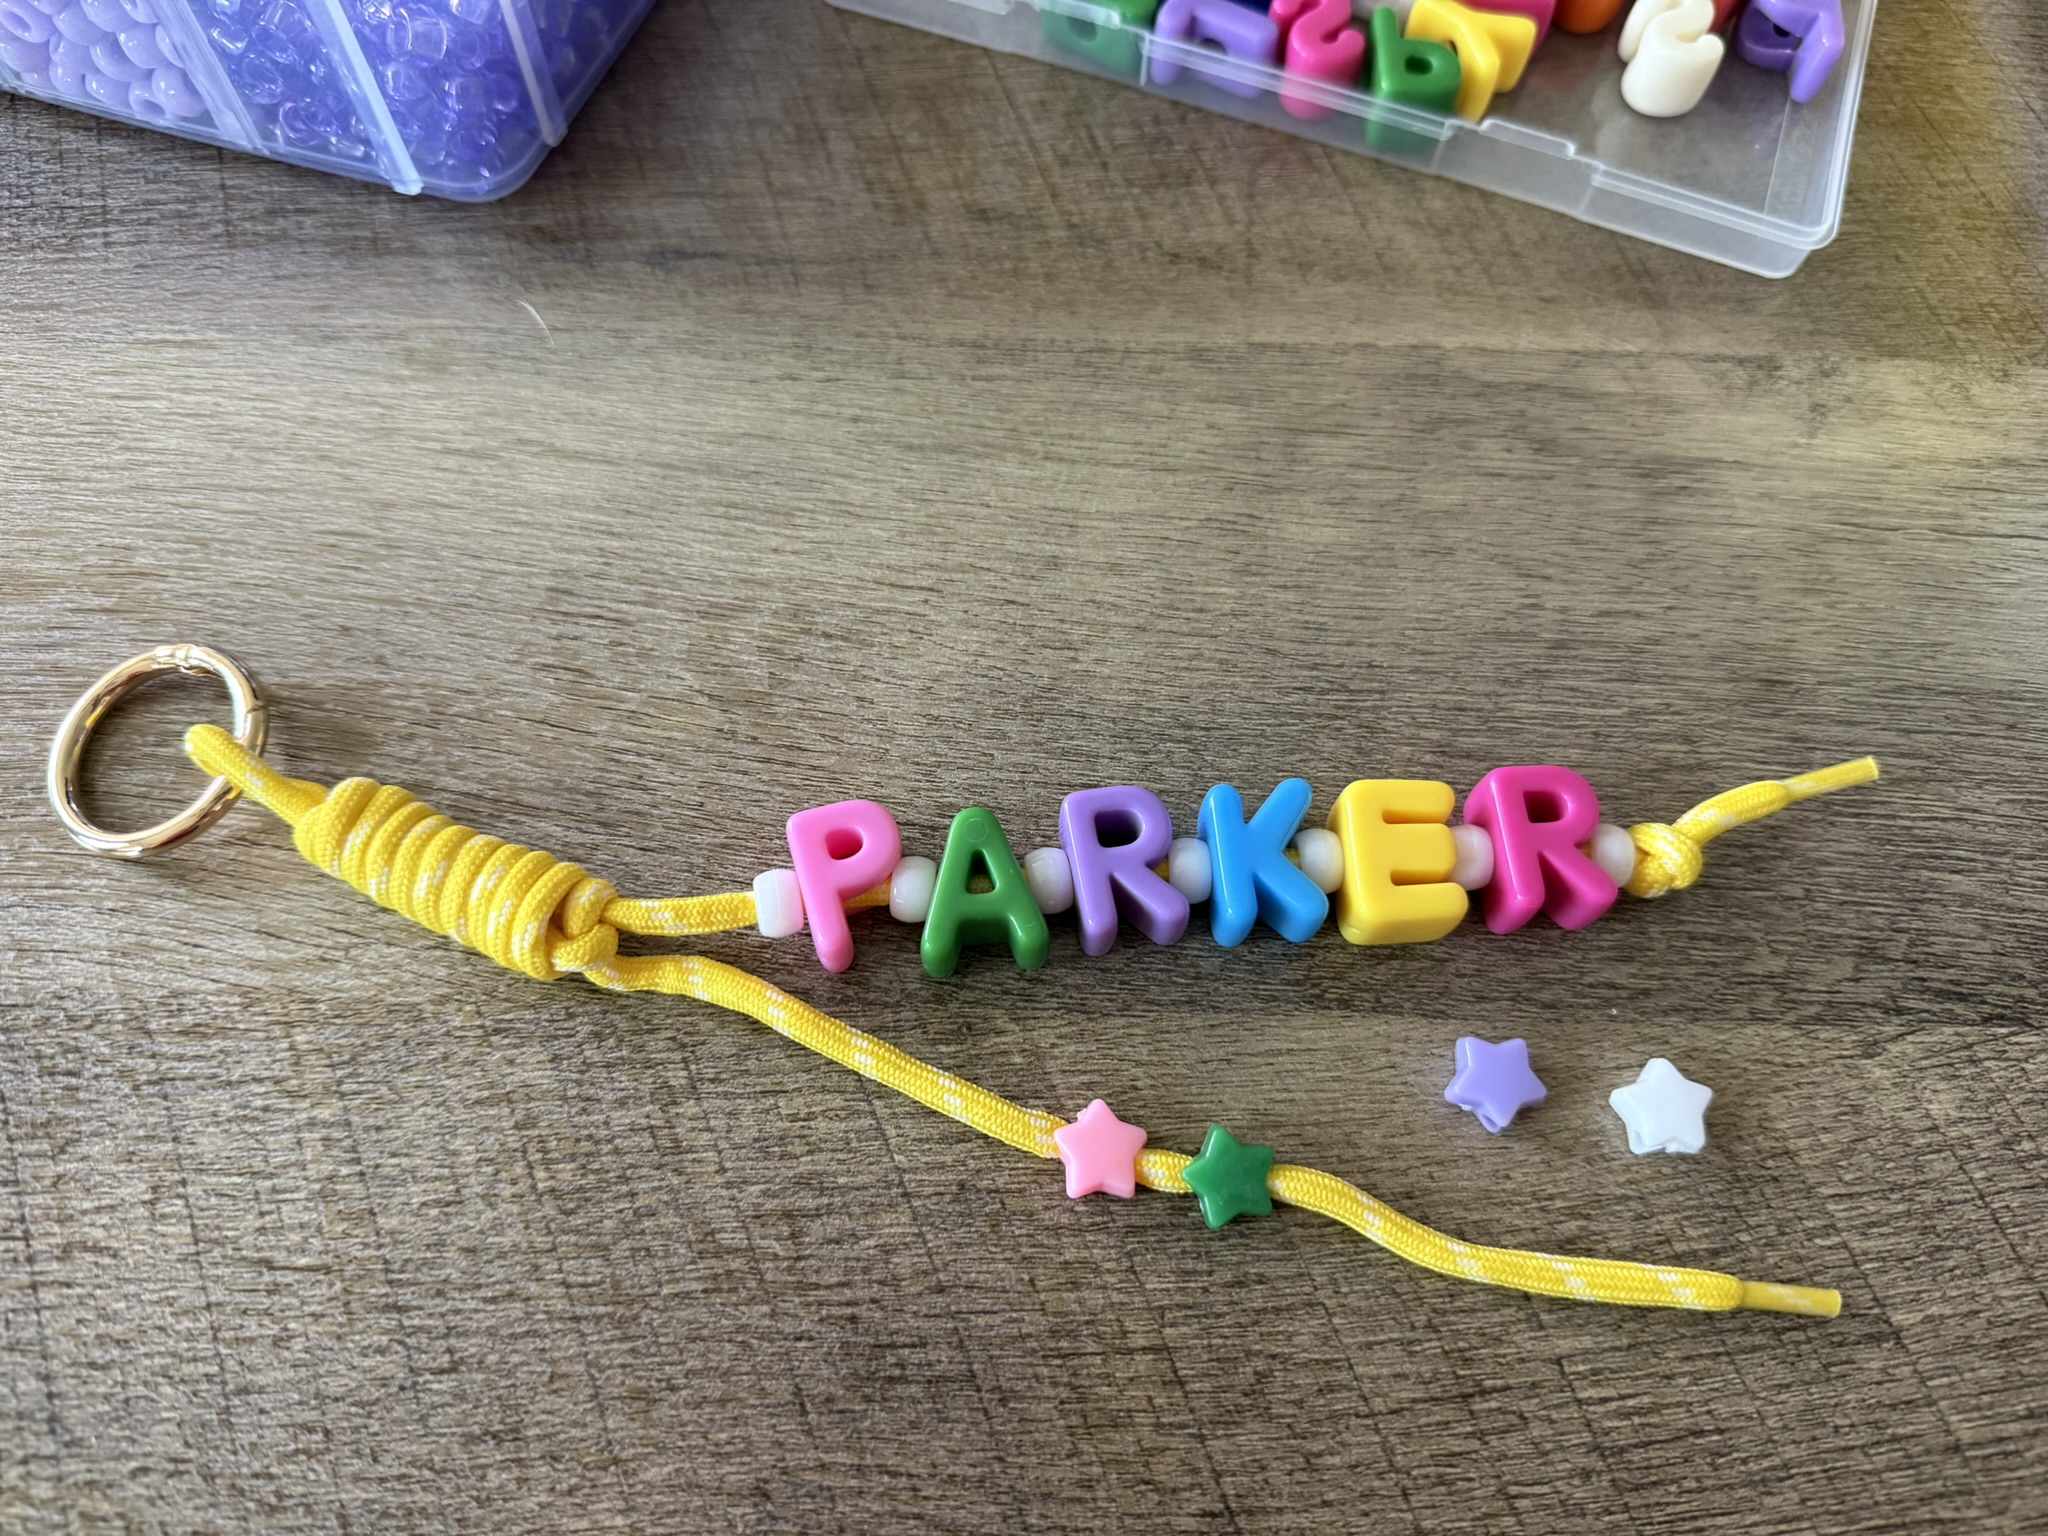
Once your first cord is done, it’s time to start stringing beads on the second!
For this bag charm, I’m adding accent beads to the second cord. You could totally add more letters to the second one, though. This is your beaded bag charm, so you get to decide how it looks.

Just like the first cord, tie the second with a knot to secure. Pull extra tight one more time.


Styling your Bag Charms
And just like that, your beaded bag charms, or leash charms in my case, are done and ready to style!
How cute did these turn out?? I’m absolutely obsessed, and so are my sweet boys. Both Parker and Zuko told me just the other day how much they love their charms!

A little action shot for you!
We attached our boys’ charms to the little backpacks already on their leashes. I know I’ve already said this but…SO CUTE! Heart eyes all around!
This post contains affiliate links, which means I may earn a small commission (at no cost to you) if you purchase anything through my links. I only recommend products or items that I love or use myself. Thank you for supporting my work!